Audio Visualizer
This tutorial will show you how to make a simple audio visualizer step by step.
Prerequisites
Section titled “Prerequisites”- A Java project with Pine installed
- Your preferred IDE
- Some
.oggaudio files in your project’s resources folder
If you don’t have any audio files, you can check out Andrew Applepie’s work. Some of his music is free to download. Disclaimer: Before redistributing or sharing any audio, make sure to review and comply with its license terms.
The main class
Section titled “The main class”A Java program needs an entry point, a main class.
This class is often called Main and always has a method public static void main(String[] args).
In our case, we will be using this method to prepare and run our application using the ApplicationBuilder.
Before we do that, we will first declare some constants outside of the method, to avoid hardcoding variables and to make it easier to adjust these details later on.
public class Main {
  // Constants  public static final String TITLE = "Audio Visualizer";  public static final int WIDTH = 900;  public static final int HEIGHT = 450;  public static final int FPS = 60; // Frames per second
  public static void main(String[] args) {
  }
}
Now we simply take these constants and apply them to our application builder. Once that’s done, all there is left to do is to tell the application builder to start the application.
public static void main(String[] args) {  ApplicationBuilder applicationBuilder = new ApplicationBuilder();
  applicationBuilder.setTitle(TITLE);  applicationBuilder.setWindowSize(WIDTH, HEIGHT);  applicationBuilder.setInitialScene(new AudioVisualizerScene());  applicationBuilder.setTargetFps(FPS);
  applicationBuilder.build().run();}
And that’s it, we now have a working Pine application! You can go ahead and run your program and you’ll see a blank 900x450 window open, with the title “Audio Visualizer”, rendering at 60 frames per second.
Creating the scene
Section titled “Creating the scene”To actually add entities into our application and render stuff, we have to create a Scene.
The scene keeps track of all our entities, components and systems.
Let’s create a new class for our scene to keep things organised. Just like our main class, this class will also contain some constants.
public class AudioVisualizerScene extends Scene {
  // Constants  public static final int BAR_COUNT = 25;  public static final float BAR_GAP = 4;  public static final float BAR_WIDTH = (float)Main.WIDTH / BAR_COUNT - BAR_GAP;  public static final float VOLUME = 0.25f;
}
This won’t do anything on its own, we still have to load the entities, components and systems into our scene.
To do this, we’ll override the scene’s load() method.
A scene is always initialized with a camera entity.
To access its camera component, we use the cameraData field.
We’ll be using this to change the background color of our camera.
@Overrideprotected void load() {  super.load();
  cameraData.setBackgroundColor(Color.hsl(0f, 0f, 0.05f));}
Go ahead and run the application again and you’ll see that our background color has changed slightly. That’s progress! It’s a good idea to run your application frequently when making changes, to verify that everything is working correctly before moving on.
Next, we’ll want to play some audio.
The audio source pool lets us load an audio source from an audio file inside our resources folder.
In this example, the audio file is located at src/main/resources/audio/AndrewApplepie-KeepOnTrying.ogg.
public class AudioVisualizerScene extends Scene {
  private AudioSource source;
  ...
  @Override  protected void load() {    ...
    // Load audio source    source = AssetPools.audioSources.load("audio/AndrewApplepie-KeepOnTrying.ogg");    source.setCapture(true); // Enables capturing of audio data    source.init();
    // Start audio source    source.setVolume(VOLUME);    source.setLoop(true);    source.play();  }
  public AudioSource getAudioSource() {    return source;  }
}
When we run our application again, we should be able to hear our audio playing. We still can’t see anything though, so let’s do something about that.
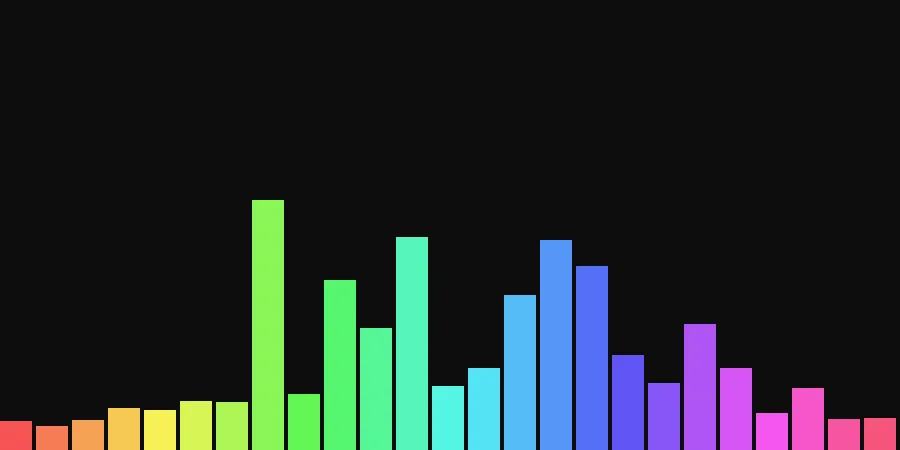
To visualize our audio, we’ll be using vertical bars. We’ll create each bar using a prefab with a custom component that stores the data of each bar. And finally, a system will be added to our scene to animate the bars based on the audio data.
Creating the bar component
Section titled “Creating the bar component”The only data our custom component will be storing is the index of the bar it is attached to. We’ll need this information later on to update the horizontal position and color of each bar.
public class BarData extends Component {
  public final int index;
  public BarData(int index) {    this.index = index;  }
}
Creating the bar prefab
Section titled “Creating the bar prefab”Like mentioned earlier, we’ll create each bar using a prefab.
A prefab is a reusable blueprint that creates entities with a predefined set of components.
We’ll extend the RectPrefab class, because each bar will also need a RectRenderer component to render the actual rectangles.
public class BarPrefab extends RectPrefab {
  protected int index;
  public BarPrefab() {    super(new Rect(), Color.white());  }
  public void setIndex(int index) {    this.index = index;
    // Calculate the position of this bar based on its index and the total bar count    float position = (float)index / AudioVisualizerScene.BAR_COUNT;    shape.setX((position) * (Main.WIDTH));
    // Set the hue of this bar based on its position    color.setRGB(Color.hsl(position, 0.9f, 0.65f));
    shape.setWidth(AudioVisualizerScene.BAR_WIDTH);  }
  @Override  protected void apply(Entity entity) {    super.apply(entity);
    entity.transform.position.y = -Main.HEIGHT / 2f;    entity.addComponent(new BarData(index));
    // Create new shape and color for the next bar    // If we don't do this, all bars will share the same shape and color    setShape(new Rect());    setColor(Color.white());  }
}
Creating the bar resizing system
Section titled “Creating the bar resizing system”Nothing is happening yet, because there is no system that is manipulating the data stored in our components yet. This is the next step. We’ll create a system that gets the magnitudes of the audio waves and sets the height of each bar based on those values.
We only want to get the magnitudes once and not for every single bar, because that would be computationally expensive. Therefore we are going to use the UpdateSystemBase class instead of the UpdateSystem class.
We’ll pass a reference to the scene to this system, so we can retrieve our audio source from the scene.
public class BarResizer extends UpdateSystemBase {
  private final AudioVisualizerScene scene;
  public BarResizer(AudioVisualizerScene scene) {    super(BarData.class, RectRenderer.class);    this.scene = scene;  }
  @Override  public void update(float deltaTime) {    AudioSource source = scene.getAudioSource();    double[] magnitudes = source.getAverageMagnitudes(AudioVisualizerScene.BAR_COUNT);
    forEach((chunk) -> {      // Get the components of the bar      BarData barData = chunk.getComponent(BarData.class);      RectRenderer rectRenderer = chunk.getComponent(RectRenderer.class);      Rect rect = rectRenderer.getShape();
      float factor = getFactor(barData.index, source, magnitudes);
      // Apply the height to the rect renderer component      rect.setHeight(factor);    });  }
  /**   * Calculates the height of a bar based on its index and the corresponding magnitude   */  private static float getFactor(int index, AudioSource source, double[] magnitudes) {    float factor = 0.1f;    if (source.isPlaying()) {      double magnitude = magnitudes[index];      factor += (float)Math.log1p(magnitude * 10); // Natural logarithm of the magnitude
      // We multiply the factor with a sine function to make the bars closer to the edges lower      factor *= (0.25f + 0.75f * (float)Math.sin((float)index / (AudioVisualizerScene.BAR_COUNT - 1) * Math.PI));    }    return factor * 64f;  }
}All together now
Section titled “All together now”We’ve already done quite a lot now, but we still won’t be able to see anything in our window. This is because our scene is still empty. We’ve created a prefab with a component and a system, but we haven’t added those to our scene yet, so that’s what we’ll do next.
public class AudioVisualizerScene extends Scene {
  ...
  @Override  protected void load() {    ...
    world.addSystem(new BarResizer(this));    BarPrefab barPrefab = new BarPrefab();    for (int i = 0; i < BAR_COUNT; i++) {      barPrefab.setIndex(i);      world.addEntity(barPrefab);    }
    ...  }
}
Now go ahead and launch the application and you’ll see that our bars are now dancing along with the music, great! We’ve now got a simple audio visualizer that we can build upon and improve. Feel free to try changing some values, importing different audio tracks and to play around with the visualizer.
Improving the visualizer
Section titled “Improving the visualizer”Below are some optional steps to improve the audio visualizer.
Linear interpolation
Section titled “Linear interpolation”You might have already noticed that our bars are quite jittery at the moment. That is because they are jumping to the exact height based on the magnitude each frame.
We could improve this by slowing down the movements of our bars, so they are not instant.
We can use linear interpolation (lerp) to achieve this.
Linair interpolation can be used to make a value smoothly change over to a new value based on a factor, which is usually multiplied with deltaTime so it is not dependent on the frame rate.
All we have to do is add a constant and change a single line in our bar resizing system:
public class BarResizer extends UpdateSystemBase {
  ...
  // Constants  public static final float LERP_SPEED = 10;
  ...
  @Override  public void update(float deltaTime) {    ...
    forEach((chunk) -> {      ...
      // Linearly interpolates between the previous height and the next height based on the speed and deltaTime      rect.setHeight(MathUtils.lerp(rect.getHeight(), factor, deltaTime * LERP_SPEED));    });  }
}
Changing LERP_SPEED will affect how quickly the heights of the bars change.
Shuffling
Section titled “Shuffling”Currently our visualizer is quite symmetric, but wouldn’t it be cool if we could shuffle the bars around to make it look more interesting? We have a very useful utility method that can randomly shuffle arrays in-place based on a seed.
public class BarResizer extends UpdateSystemBase {
  ...
  // Constants  public static final long SHUFFLE_SEED = 0;
  ...
  @Override  public void update(float deltaTime) {    ...
    double[] magnitudes = source.getAverageMagnitudes(scene.getBarCount());    ArrayUtils.shuffle(magnitudes, SHUFFLE_SEED);
    ...  }
}
Thanks to our sine function, the bars in the center will still be a lot higher than the bars near the edges, even when shuffling them around.
Keyboard controls
Section titled “Keyboard controls”We can add some simple keyboard controls to pause or restart our audio source:
public class AudioVisualizerScene extends Scene {
  ...
  // Constants  public static final Key PAUSE_KEY = Key.SPACE;  public static final Key RESTART_KEY = Key.R;
  ...
  @Override  public void input(float deltaTime) throws IllegalStateException {    super.input(deltaTime);
    Input input = getInput();    if (input.getKeyDown(PAUSE_KEY)) {      source.togglePause();    } else if (input.getKeyDown(RESTART_KEY)) {      source.restart();    }  }
  ...
}